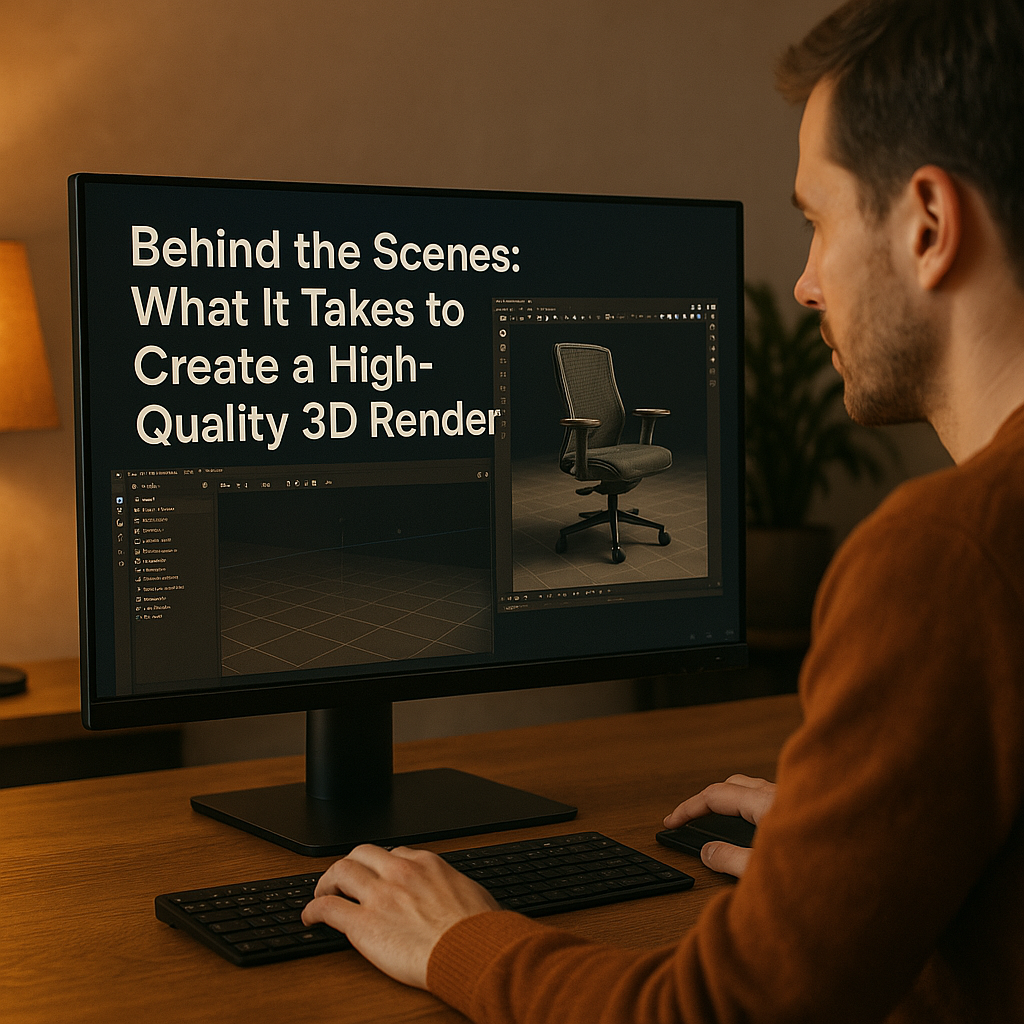
At first glance, a 3D render may seem like “just a picture.” But in reality, each high-quality visualization is the result of a complex, multi-step creative process that requires time, skill, and attention to detail. In this article, we’ll take you behind the scenes to show what it really takes to create top-tier 3D visuals—and why quality comes at a cost.
1. Understanding the Client’s Vision
Everything starts with a clear brief.
A successful 3D project begins with communication:
- What is the purpose of the render?
- Who is the target audience?
- Are there mood boards, sketches, or real references?
Even the best artist can’t deliver a perfect result without a solid understanding of the client’s expectations.
2. 3D Modeling: Building From Scratch
Next comes 3D modeling—creating a digital replica of the product, space, or object.
Depending on complexity, this step alone can take hours or even days. Accurate dimensions, curves, and fine details matter, especially for:
- Furniture with soft geometry
- Architecture with custom structures
- Products with mechanical parts
In many cases, modeling starts from zero—no templates, just reference images and technical specs.
3. Texturing and Materials
This step gives the model realism. Artists apply:
- Fabric, wood, or metal shaders
- Bump maps, reflections, surface imperfections
- UV mapping to ensure textures fit correctly
Creating photorealistic materials means analyzing how light interacts with surfaces and adjusting parameters accordingly.
4. Lighting: More Than Just Brightness
Good lighting makes or breaks a render. Artists simulate natural or artificial lighting to:
- Create mood and depth
- Highlight product features
- Control contrast and atmosphere
Professionals treat lighting like photography—it’s a craft in itself.
5. Camera Composition
Just like in filmmaking, choosing the right camera angle, lens, and focal point is crucial.
Good composition:
- Directs the viewer’s eye
- Emphasizes scale and proportion
- Tells a visual story
Poor camera work can make even a perfect model look dull.
6. Rendering: The Heavy Lifting
Rendering is the process of turning all 3D data into an image.
Depending on quality settings and complexity, this can take:
- Minutes for previews
- Hours (or more) for final images at 4K+ resolution
Rendering engines calculate shadows, reflections, refractions, and global illumination—all in one frame.
7. Post-Processing and Final Touches
The final render goes through post-production:
- Color correction
- Sharpness and contrast adjustments
- Adding background elements or subtle effects
This is where the image comes to life and gains its polish.
Why It All Matters
Each step above requires specialized tools, deep experience, and a trained artistic eye.
When a studio delivers a high-end render, you’re not paying just for the image—you’re investing in:
- Time
- Technical skill
- Artistic sensibility
- Software and hardware resources
Final Thoughts
Good 3D isn’t magic—it’s craftsmanship. And now that you’ve seen what goes into it, you understand why cheap work often looks… cheap.
At 3DFusion, we’re proud of our professional process and the results it brings. Whether you need product visualization, architectural rendering, or 3D animation—we’ve got the tools and the talent to deliver visuals that work


